Different neon arrows in blue, yellow and magenta
Learn some of the roadblocks the Webflow Editor can put in your way and how to circumvent them. As a Webflow Designer I list two of the most annoying issues with the Webflow Editor to date.

Let’s start with the basics: what actually is the Webflow Editor? The Webflow Editor is the client-facing user interface of of Webflow that lets you focus on amending the content of the website (e.g. text, images, link destinations etc.) and add/remove/amend CMS items (blog posts, news articles etc.). The Webflow Designer on the other hand is Webflow’s “backend”. This is where a skilled Webflow Designer or Developer can not only change the content but also make changes to the layout and structure of the site.
Usually, clients use the Webflow Editor for regular content updates and then have a Webflow professional (either in-house or off-site) go into the Webflow Designer to make more fundamental changes to the site. Simply relying on the Webflow Editor for content updates is usually a good approach, especially if you want to prevent accidentally making changes to the site. However there are certain limitations which I will discuss in a future article. In this post I would like to talk about 2 things I dislike about the Webflow Editor and how you could possibly remedy them.
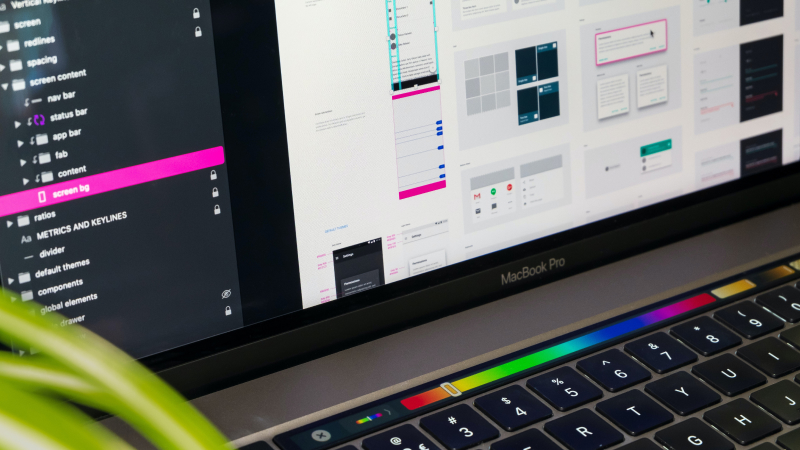
Let’s say your Webflow agency or freelancer has set up your site and now you’d like to change some of the links on your website via the Editor. This works very well for simply text links or buttons. You can simply hover over a link and will be presented with a context menu which lets you either “edit link settings” (e.g. change things like the link destination) or edit the link text itself. However, things change if you are working with a link block instead of a simply text link. A link block is usually needed if you want to turn an image into a link, if you need to build a particular Webflow animation on hover or if for a variety of other reasons a link block is required to make the layout work as it should. Unfortunately you are not able to change the link destination once you hover over a link block. For instance – as shown in the screenshot below – if you have an image which links to a blog article, you cannot change the link destination in the Webflow Editor. In this case you can only change the image itself. That’s definitely annoying. According to Webflow’s own statement in the official Webflow forum, the feature used to be available previously, but was disabled due to some issue with other app features.


There are currently to main options on how to get around this issue. One option is to use custom code (this has to be implemented in the Webflow Designer). You can find more info about this on Finsweet’s site: https://finsweet.com/attributes/edit-link-blocks-in-editor. The second option is to access the Webflow Designer and change the link there. In order to limit the amount of custom code on the site, I usually go with the second option of making the change in the Webflow Designer. And as I transfer completed sites over to the client’s own Webflow account, they will always have complete access to both the Webflow Designer and Editor at all times.
When you’re in the Editor, you are able to replace images on your site with ones you have on your computer. When hover over an image, a little image and plus icon will appear, once you click it you will be able to select a new images. That’s great but there are a couple of issues with this.
One issue here is that you are not actually replacing the image within your Webflow project, you are simply adding the image to your project – this means your first image will still be there in your actual Webflow project. While it isn’t visible anymore on your site, you can still access it when going into the asset panel in the Webflow Designer. Having a variety of different – oftentimes redundant images – in your project makes things very messy (just like if you’ve got millions of icons and files on your desktop). You’d at some point have to go in there and clean out old, non-essential files.
Secondly, when updating images via the Webflow Editor, you have no way of selecting in which folder the images should go. Inside the asset panel Webflow professionals usually create different folders for various assets such as images, vector files, pdf documents etc. Unfortunately, you wont be able to decide in which folder your image should be saved and Webflow simply puts the image into the root folder of all your assets. This again makes things very messy.
Thirdly, you are not able to add an alt tag to the newly replaced image via the Editor. This is bad for accessibility of the site and you (or your service provider) will have to go into the Webflow Designer to add an alt tag to all your newly updated images.
To be honest, the best approach here would be to not use the Webflow Editor to update images, but go to the Designer instead. Upload the images to the correct image folder and add alt tags, then replace the image on the page. This is especially annoying since Webflow themselves market their tool as being capable to easily update content via the Editor without having to ever touch the Webflow Designer.
While the Webflow Editor is great for simply content updates (especially text), there are still a few things that could be improved. However, if you know your way around the Webflow Designer – or have hired someone who does – you should get around these limitations pretty easily.
Need more help? Feel free to reach out via the form below.
Fill out the form below and I'll be in touch with you usually within 48 hours. You can also say hi via email.